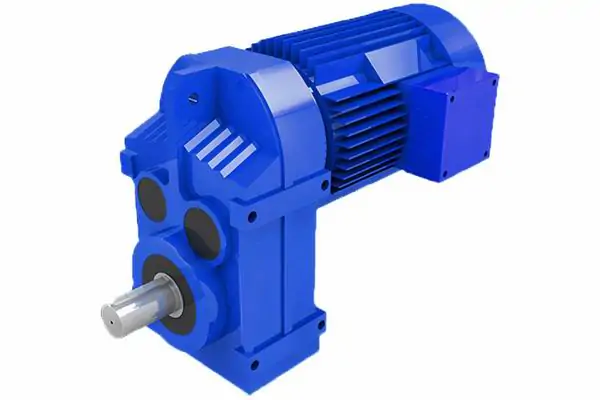
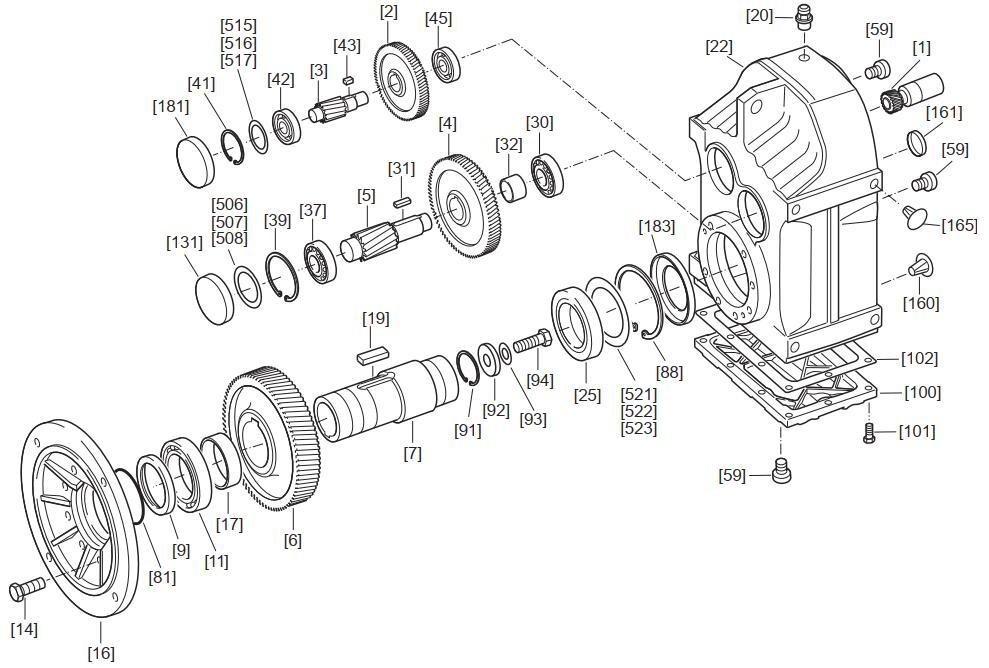
Installation, Verwendung und Wartung der Parallelwellenmotor der F -Serie
First, Precautions for installation and use of reducer
- When installing the reducer, please pay attention to the alignment of the transmission center axis, and its deviation shall not be larger than the amount of compensation of the coupling. Good alignment prolongs service life and obtains ideal transmission efficiency.
- When installing the transmission parts on the output shaft, it is not allowed to hit with a hammer, usually using the internal thread of the assembly fixture and the shaft end, and pressing the transmission parts with bolts, otherwise it may cause damage to the internal parts of the reducer. It is best not to use the rigid fixed coupling, if this kind of coupling is not properly installed, it will cause unnecessary external load and cause early damage to the bearing, and even cause the fracture of the output shaft in serious cases.
- The reducer should be firmly installed on a stable level of foundation or base, the oil in the oil drain groove should be discharged, and the cooling air should circulate smoothly. If the foundation is unreliable, it can cause vibration and noise during operation, and will cause damage to bearings and gears. When the transmission coupling has a protrusion or adopts gear, sprocket transmission, the installation of protective devices should be considered. And when the output shaft bears a large radial load, the reinforced type should be selected.
- According to the prescribed installation device, ensure that the staff can easily approach the oil level sight glass, ventilation plug and oil discharge plug. After the installation is in place, the accuracy of the installation position should be comprehensively checked in order, the reliability of the fastener compression, and the flexible rotation should be able to be carried out after installation. The reducer is lubricated by oil pool splash, and the user needs to remove the screw plug of the vent hole and replace it with the vent plug before operation. According to different installation positions, and open the oil level plug screw to check the height of the oil level line, add oil from the oil level plug until the lubricating oil overflows from the oil level plug screw hole, screw on the oil level plug to confirm that it is correct, and then carry out no-load test operation, and the time shall not be less than 2 hours. The operation should be stable, without shock, vibration, noise and oil leakage, and the abnormality should be eliminated in time.
After a certain period of time, the oil level should be checked again to prevent leakage that may be caused by the casing, and the grade of lubricating oil can be changed when the ambient temperature is too high or too low.
Second, the installation of shaft-mounted reducer
-
The connection between the reducer and the working machine
The reducer is directly encased on the main shaft of the working machine, and when the reducer is running, the reaction torque acting on the reducer box is also installed on the reducer box and the reaction torque bracket is installed on the reducer box or is balanced by other methods. The machine is directly matched, and the other end is connected with the fixed bracket. (See image below)
-
Installation of the counter-torque bracket
The counter-torque bracket should be installed on the side of the machine facing the reducer to reduce the bending moment attached to the shaft of the machine.
Elastomers such as rubber are used for the bushings at the junction ends of the reaction moment bracket and fixed support to prevent deflection and absorb torque fluctuations.
-
The installation relationship between the reducer and the working machine
In order to avoid the deflection of the main shaft of the working machine and the additional force on the bearing of the reducer, the distance between the reducer and the working machine should be as small as possible under the condition that it does not affect the normal work, and its value is 5-10mm.
Third, Reference for disassembly and assembly of shaft-mounted reducer
Fourth, the installation example of the counter-torque bracket
Fifth, Inspection and maintenance of reducer
The newly put into operation of the reducer, when the factory has been injected into GB/T5903 L-CKC100 ~ L-CKC220 medium extreme pressure industrial gear oil, after 200 ~ 300 hours of operation, the first oil change should be carried out, in the future use should be regularly checked oil quality, for impurities or deterioration of the oil must be replaced in time.
Under normal circumstances, for the reducer that has been working continuously for a long time, it should be replaced with new oil for 5000 hours or once a year, and the reducer that has been out of service for a long time should also be replaced with new oil before re-operation, and the reducer should be added with the same oil of the original grade, and should not be mixed with different grades of oil, and the oil of the same grade and different viscosity is allowed to be mixed.
When changing the oil, wait until the reducer cools down and there is no danger of combustion, but it should still be kept warm, because after complete cooling, the viscosity of the oil increases, and it is difficult to drain the oil. Note: Cut off the power supply to the transmission to prevent inadvertent power-up!
During the work, when it is found that the oil temperature rises more than 80 °C or the oil pool temperature exceeds 100 °C and abnormal noise is generated, the use should be stopped, the cause must be checked, the fault must be eliminated, and the lubricating oil can be replaced before the operation can be continued.
The user should have reasonable rules and regulations for the use and maintenance, and the operation of the reducer and the problems found in the inspection should be carefully recorded, and the above provisions should be strictly implemented.


